
Making a party wheel..
The summary of the workflow:
I went out there to look for inspiration. I was entertaining a few ideas in my head. I though -- I could make a piece of furniture. I actually embarked on making a stool for my living room that would have a string of leds that light themselves with sound or light. Ultimately, this was not what I made as I the shopbot's computer at the west section got locked down for sometime (yes! It took me a few hours to get a hold of somebody that knows the password.
So I shifted gears and went for the same idea of using a string of leds triggered by sound but now I opted for making a wheel, if I may call it that way, made out of cardboard. The idea is that the wheel will light itself reacting to sound, and hence will make a good party creation.
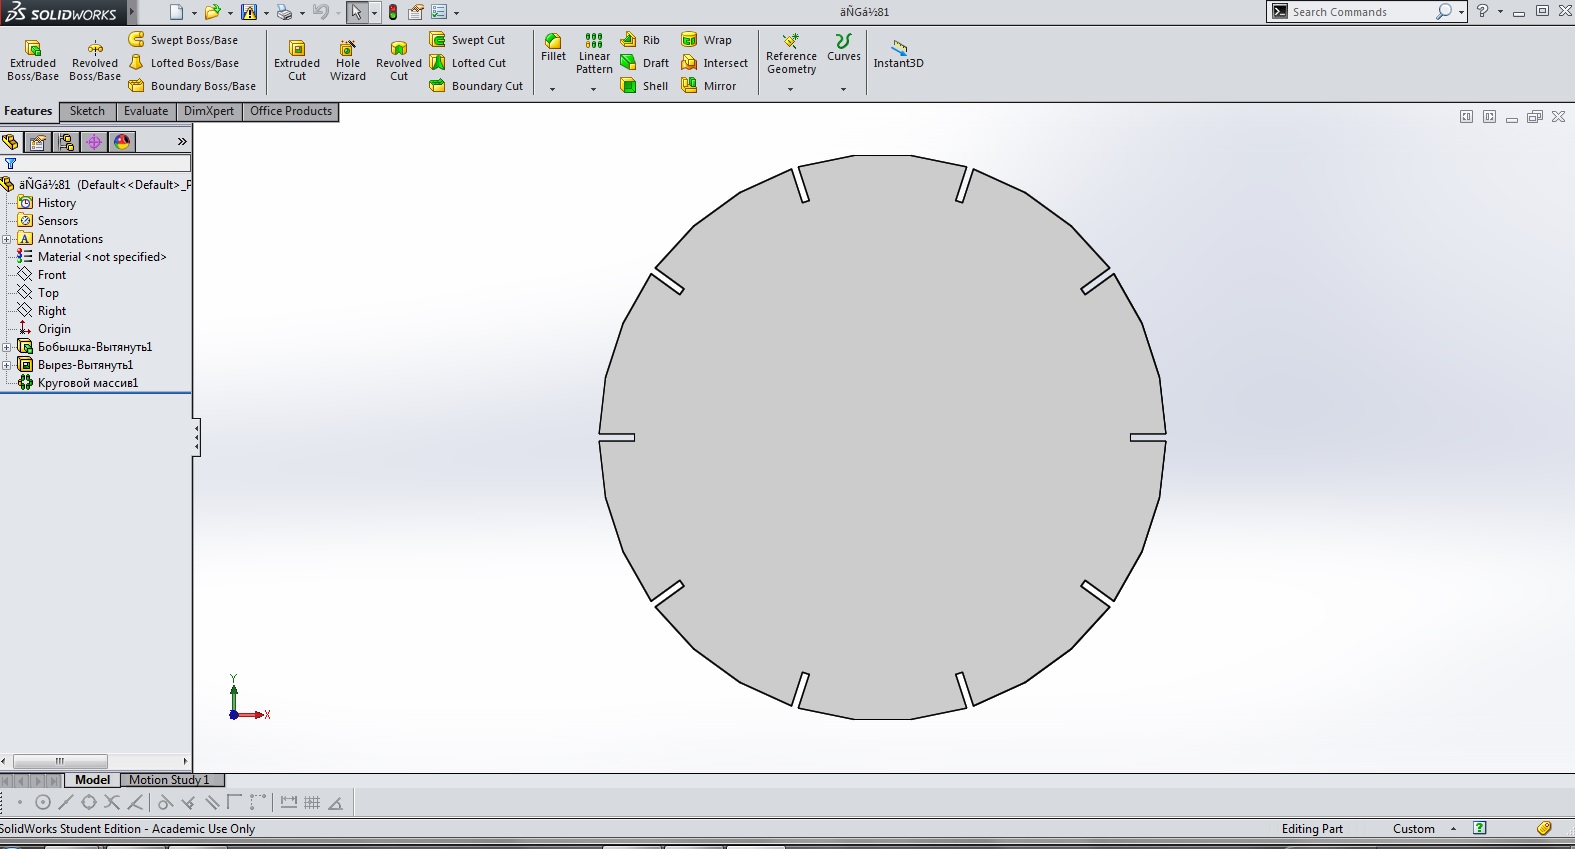
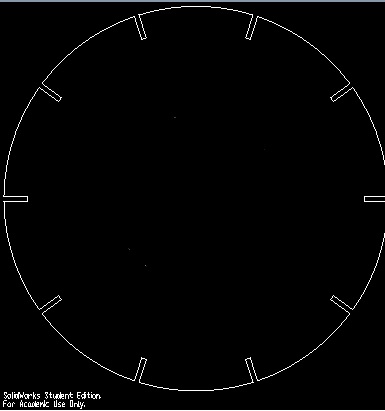
I had been working with the laser cutter for another project, so it seemed natural to do the design thinking to have it cut there. So I created a press fit wheel with a number of levels. The ideas was to squeeze in the string of leds in between these levels.
I bought this string from superbrightleds.com for 20 bucks.See here: String of leds. What I liked from this option is the very reasonable amount of current they would require @ 80 mA per foot (9v). When I consulted with some of the TA's they mentioned that that is definitely a very manageable amount. And so I could use a 9v 600 mA wall adapter which is very common on the market.
I have been working with Solidworks throughout the semester and found easiest to continue doing so. I basically sketched two types of parts. A circle, what would be the levels on the wheel once assembled, and a part that would keep together the different levels of the Wheel.
I first made a PCB that with a phototransistor and a led. I figured that from that I could make a few changes and connect the string of leds. To my surprise I could not program the board properly. Since this was going to be only an interim test, I opted for designing my final board.
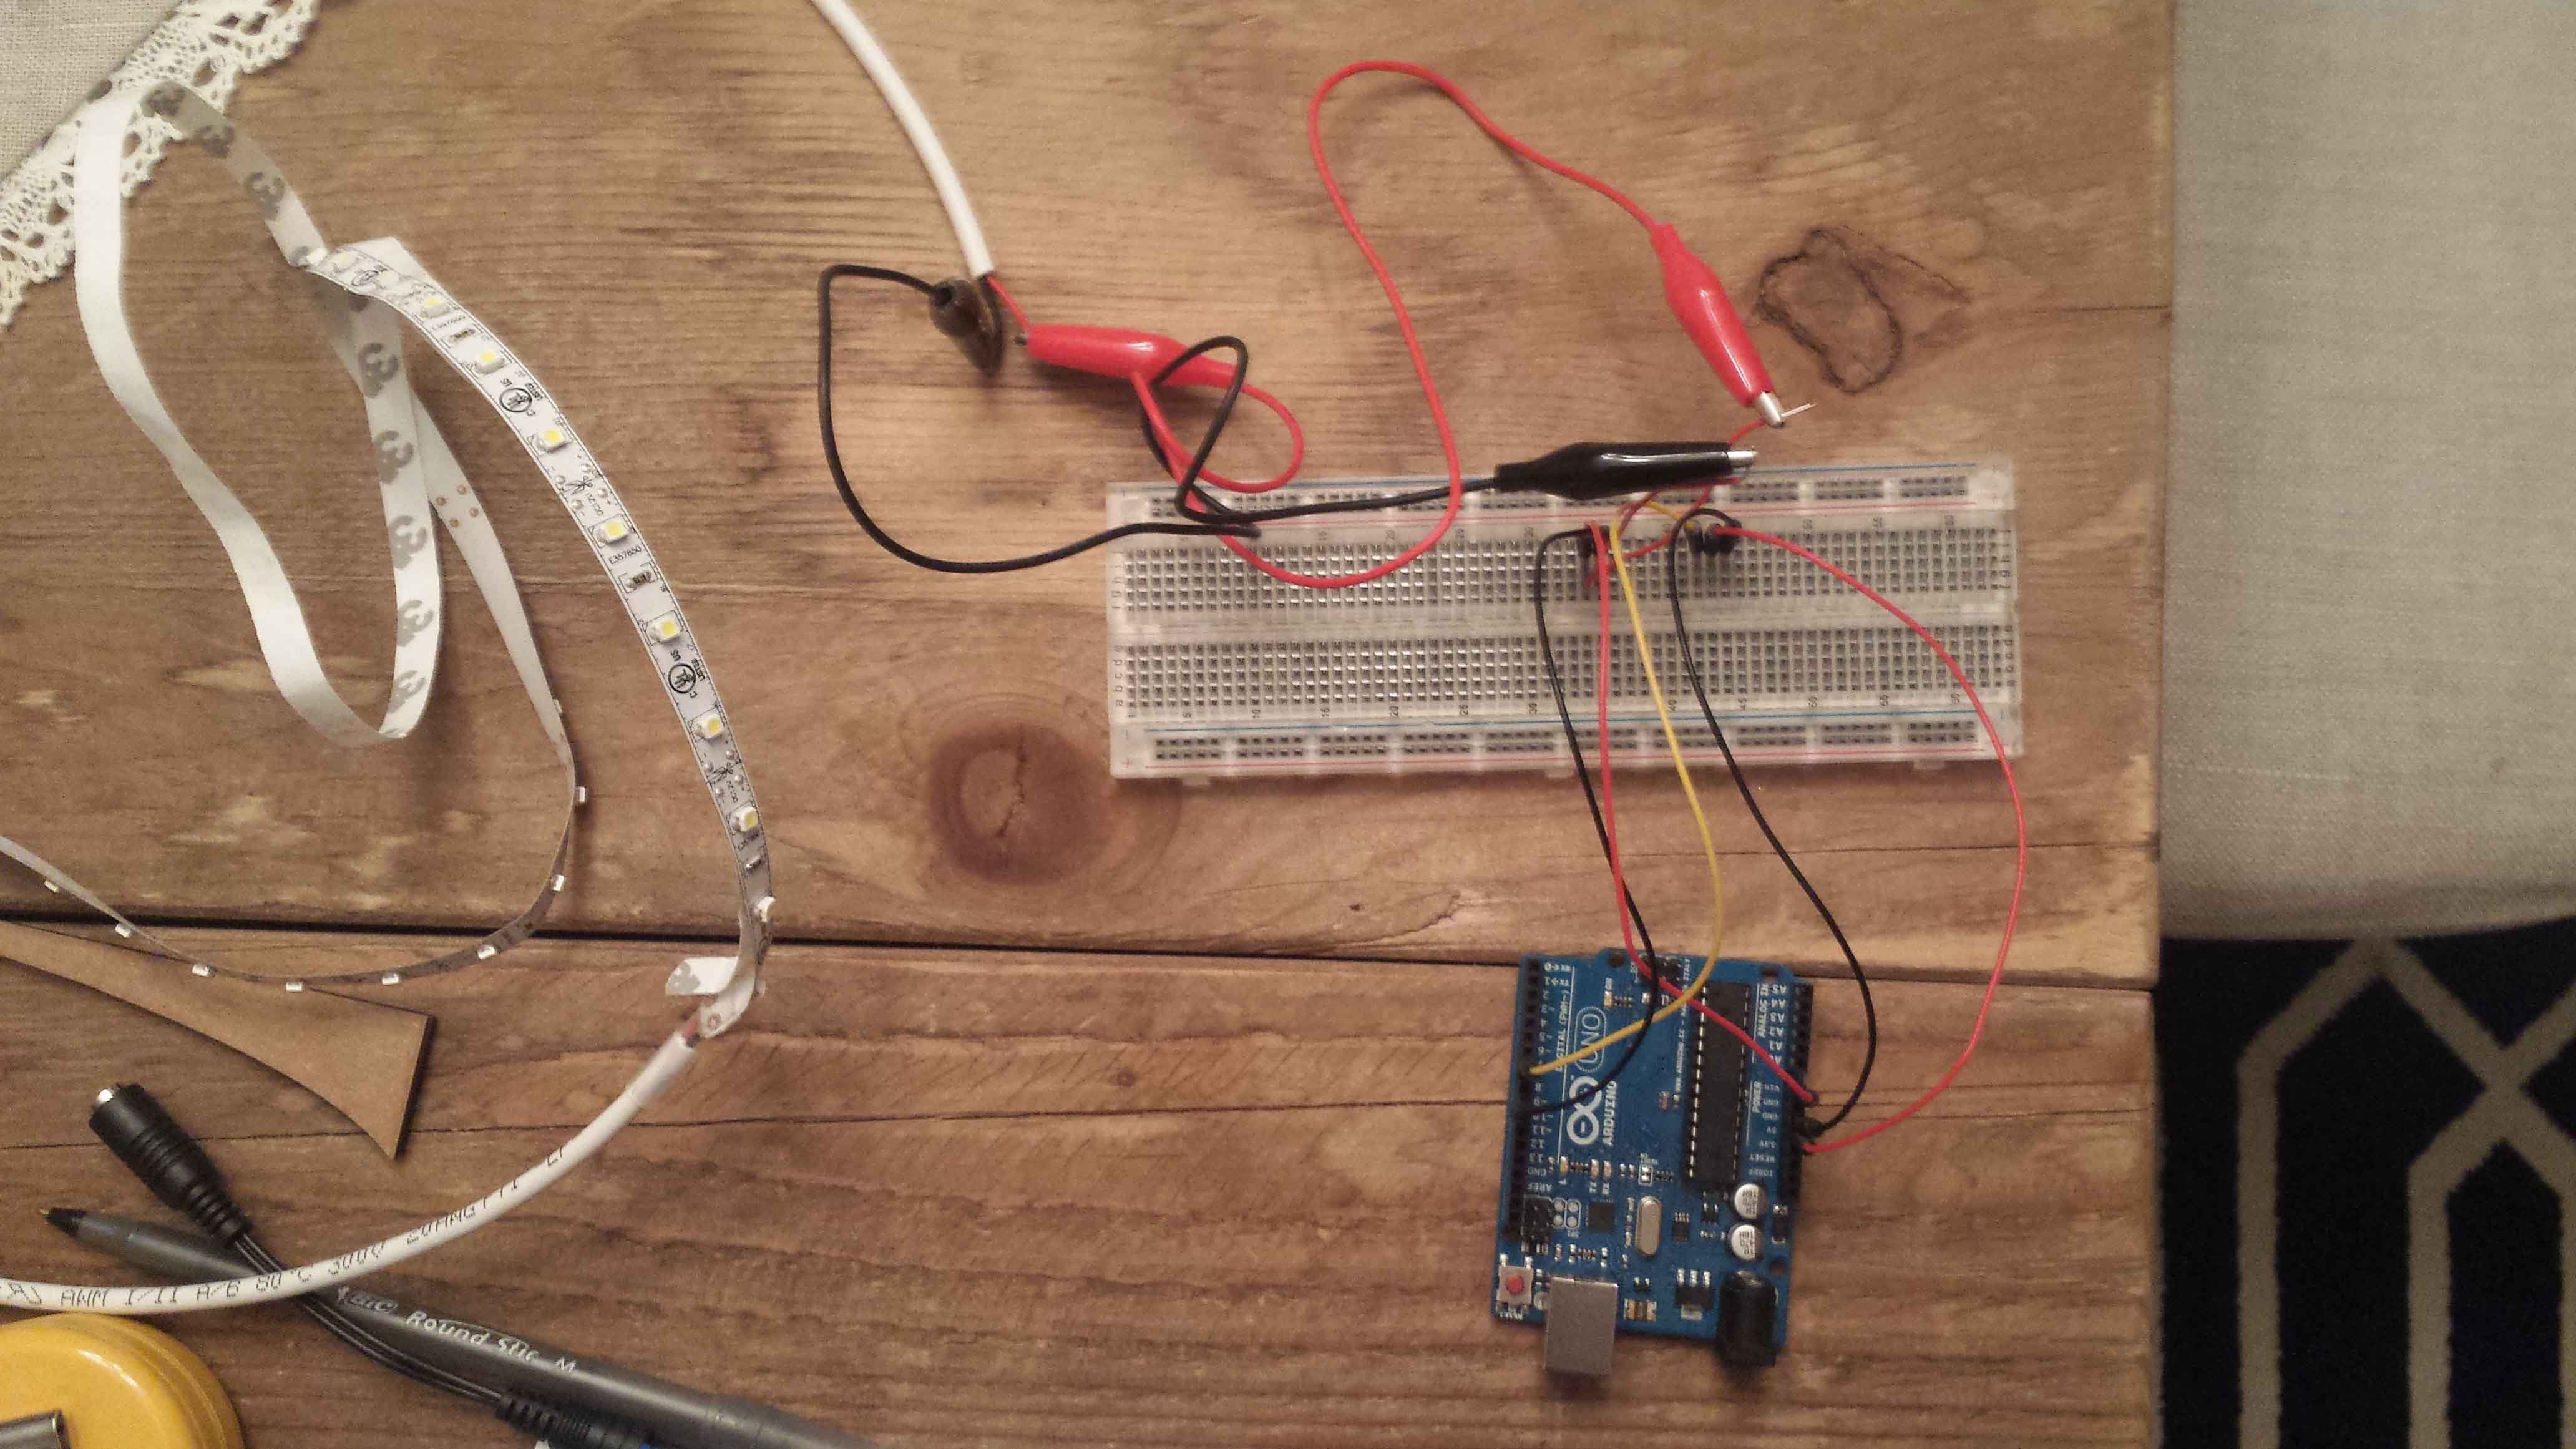
This is when I changed from detecting light to detecting sound. I found a good sound detector that I could use for this project. The name is parallax sound detector. The Sound Impact Sensor detects sound from up to 3 meters away, lending noise-activation possibilities. This sensor also includes an onboard potentiometer for easy adjustment of the range of detection for the sensor. I design the board first using a breadboard to make sure I had the connections properly set.
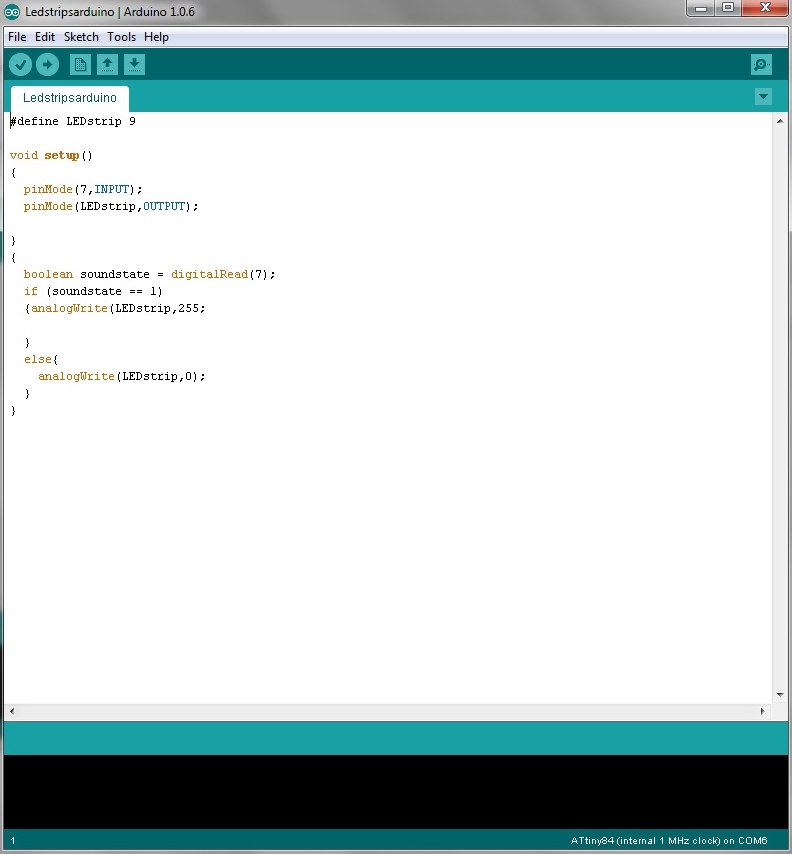
I programmed the board accordingly:
I milled the board a few times. First I had a problem with overlapping traces. Then I had, at least from what it seemed, a soldering issue. Once I solved this, I was getting an error while I was trying to program it with the Arduino ISP. Ran out of time.

Nonetheless, the result is quite good: